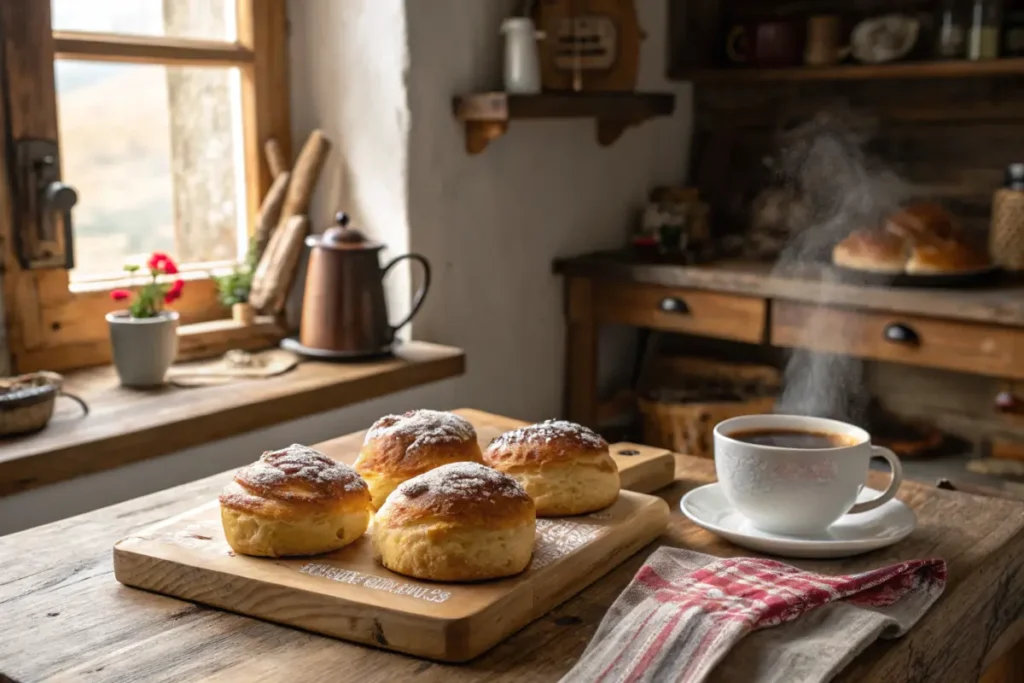
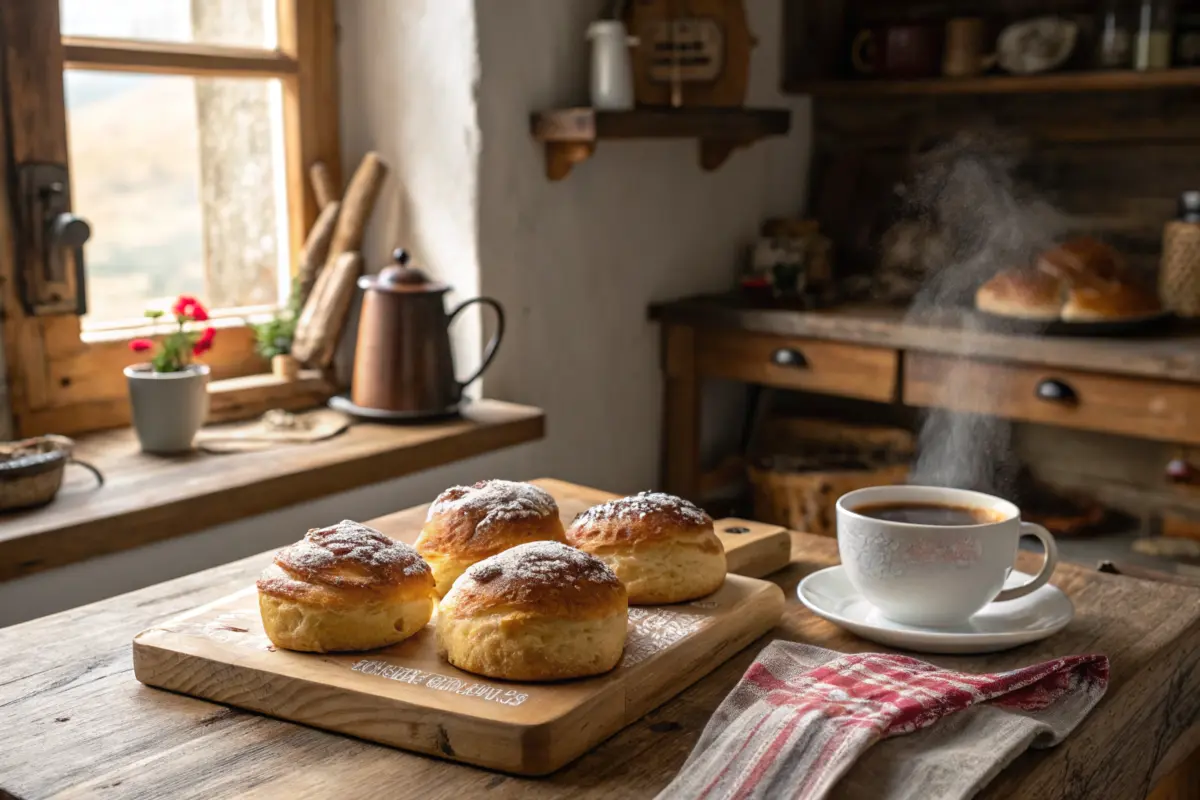
Gipfeli, the Swiss cousin of the croissant, holds a special place in the hearts of pastry lovers. Its delicate, flaky layers and buttery goodness make it an irresistible treat for breakfast or an afternoon snack. Whether you prefer it sweet or savory, this gipfeli recipe guide has got you covered. From understanding the origins to perfecting the technique, this comprehensive guide will help you create the perfect Gipfeli at home.
Let’s dive in!
Introduction to Gipfeli
What is Gipfeli?
Gipfeli, often called a Swiss croissant, is a crescent-shaped pastry that’s slightly denser than its French counterpart. Unlike croissants, Gipfeli doesn’t always rely on layers of laminated dough, making it unique in taste and texture. This iconic Swiss pastry is a staple in bakeries across Switzerland, often enjoyed with a hot cup of coffee or tea.
The Origin and History of Gipfeli
The story of Gipfeli traces back to central Europe, where crescent-shaped breads and pastries have been popular for centuries. While croissants are rooted in France, Gipfeli evolved to suit Swiss preferences, focusing on hearty yet simple flavors. It’s not just a pastry—it’s a piece of Swiss culinary tradition that reflects the country’s penchant for high-quality, handcrafted baked goods.
Why Gipfeli is a Swiss Favorite Pastry
What sets Gipfeli apart is its versatility. It can be enjoyed plain or filled with various sweet or savory options, from chocolate and jam to ham and cheese. Its slightly firmer texture makes it perfect for dipping in coffee or enjoying on the go. For Swiss locals, Gipfeli embodies the essence of a cozy breakfast or a satisfying midday snack.
Key Ingredients for Gipfeli
Essential Ingredients for Authentic Gipfeli
A flawless gipfeli recipe starts with the right ingredients. To achieve the classic Swiss flavor and texture, you’ll need the following:
- Flour: All-purpose flour is versatile, but bread flour offers the best results for structured, flaky layers.
- Butter: European-style unsalted butter is your go-to choice. Its higher fat content ensures richness and flakiness.
- Yeast: Instant or active dry yeast gives the dough its airy rise.
- Milk: Full-fat milk adds moisture and a slight sweetness to the dough.
- Sugar: A pinch of sugar balances flavors and helps in browning.
- Salt: Enhances the overall flavor and complements the butter.
Choosing the Right Butter and Flour
Butter is the secret weapon in a Gipfeli recipe. Using high-quality butter not only guarantees a rich taste but also contributes to the dough’s flakiness. When it comes to flour, bread flour provides the necessary gluten structure for handling and shaping the dough, making it ideal for beginners and experts alike.
Optional Fillings to Elevate Your Recipe
Gipfeli can be as versatile as your imagination. For a sweet touch, try fillings like chocolate, fruit jam, or almond paste. Prefer savory? Ham, cheese, or even spinach make excellent choices. These fillings enhance the experience without overshadowing the pastry’s natural charm.
Tools and Equipment You’ll Need
Must-Have Baking Tools for Gipfeli
To craft a perfect gipfeli recipe, having the right tools on hand is essential. Here’s a list of must-haves:
- Rolling Pin: A smooth, sturdy rolling pin ensures even dough thickness.
- Mixing Bowls: Opt for large bowls to mix and proof the dough effectively.
- Bench Scraper: This tool is perfect for cutting dough and cleaning your work surface.
- Pastry Brush: Essential for applying egg wash, which creates that iconic golden crust.
- Baking Sheets: Choose non-stick or parchment-lined sheets for easy baking.
Specialty Items for Swiss Pastry Perfection
While basic tools suffice, these specialty items can take your baking to the next level:
- Pastry Cutter: Ensures uniform, crescent-shaped dough pieces.
- Dough Mat: A non-stick mat simplifies rolling and shaping while keeping your countertop clean.
- Digital Kitchen Scale: Precise measurements are vital for maintaining the integrity of your Gipfeli dough.
With these tools, you’ll be ready to create bakery-quality Gipfeli right in your own kitchen. Now that you’ve got the tools and ingredients covered, let’s move on to the step-by-step process of making Gipfeli!
Step-by-Step Recipe Instructions
Preparing the Dough
To begin your gipfeli recipe, gather all your ingredients and tools. Start by activating the yeast. Warm ½ cup of milk (not hot, just lukewarm) and mix it with a teaspoon of sugar and yeast. Let it sit for 5–10 minutes until frothy. This ensures your yeast is alive and ready to work.
In a large bowl, combine the flour, sugar, and salt. Add the yeast mixture, followed by the remaining milk and melted butter. Mix until the dough comes together, then knead it on a floured surface for about 8–10 minutes. The dough should feel soft but not sticky. Once done, place it in a greased bowl, cover it, and let it rise in a warm spot for 1–2 hours, or until it doubles in size.
Rolling and Shaping the Gipfeli

After the dough has risen, transfer it to a lightly floured surface. Roll it out into a large rectangle, about ½-inch thick. To shape your Gipfeli, cut the dough into triangles. Each triangle should be long and thin, allowing for an elegant crescent shape.
Take one triangle, place it with the base facing you, and gently roll it toward the tip. For filled Gipfeli, add a teaspoon of filling at the base before rolling. Shape the rolled dough into a crescent, ensuring the tip is tucked underneath to maintain the form during baking.
Filling Options and Techniques
While traditional Gipfeli are plain, fillings can add a delightful twist. Sweet options like Nutella, jam, or almond paste are always crowd-pleasers. For savory lovers, consider fillings like ham and cheese, or even spinach and feta. Ensure you don’t overfill, as this can cause the dough to split during baking.
Baking Tips for Perfect Results
Preheat your oven to 375°F (190°C). Place the shaped Gipfeli on a lined baking sheet, leaving space between them to allow for expansion. Brush each piece with an egg wash for a shiny, golden finish. Bake for 18–22 minutes or until golden brown. Let them cool slightly before serving to enjoy their full flavor.
For more delicious recipes, check out our other pastry guides and tips on our website.
Tips for Perfect Gipfeli Every Time
Common Mistakes to Avoid
Making Gipfeli may seem straightforward, but a few pitfalls can derail the process. Avoid these common errors:
- Overproofing the Dough: Allowing the dough to rise too long can weaken its structure, making it hard to shape.
- Overfilling: Too much filling can cause the Gipfeli to burst open during baking.
- Skipping the Egg Wash: This simple step gives the pastry its signature golden hue and shine.
Tips for Working with Dough
Working with dough can feel intimidating, but practice makes perfect. Keep these tips in mind:
- Always use a lightly floured surface to prevent sticking without drying out the dough.
- Work quickly but gently when shaping to avoid overworking the dough, which can make it tough.
- If the dough resists rolling, let it rest for a few minutes. This allows the gluten to relax.
How to Achieve the Ideal Flaky Texture
Achieving that flaky texture requires attention to detail. Cold butter is essential—when it melts in the oven, it creates steam, forming those beautiful layers. Additionally, don’t skip chilling the shaped Gipfeli for 10–15 minutes before baking; this helps them maintain their shape and improves flakiness.
Storing and Serving Gipfeli
Best Practices for Storing Fresh Gipfeli
To keep your Gipfeli tasting their best, proper storage is key. Once they’ve cooled completely, store them in an airtight container at room temperature for up to two days. If you want them to last longer, consider freezing. Place the Gipfeli in a single layer on a baking sheet, freeze until firm, then transfer them to a freezer-safe bag or container. When ready to enjoy, reheat in a preheated oven at 350°F (175°C) for 10–12 minutes.
Creative Serving Suggestions
Serving Gipfeli can be as simple or as elaborate as you’d like. For a traditional approach, pair them with butter and jam on the side. To create a gourmet experience, serve sweet Gipfeli with fresh berries and whipped cream, or drizzle them with melted chocolate.
For savory options, consider pairing them with dips or spreads, like a garlic aioli or herbed cream cheese. A well-arranged charcuterie board featuring savory Gipfeli is sure to impress guests at any gathering.
With their flaky texture and buttery flavor, Gipfeli shine as both standalone treats and part of an elegant spread.
FAQs About Gipfeli
What Makes Gipfeli Different from Croissants?
While Gipfeli and croissants share similarities, they’re not the same. Gipfeli, a staple of Swiss bakeries, tends to be slightly denser and less buttery than French croissants. Croissants rely on laminated dough for their airy texture, whereas Gipfeli often skips this step, resulting in a unique yet equally delicious pastry. If you’re new to making pastries, a gipfeli recipe can be more forgiving than a croissant recipe.
Can I Freeze the Dough?
Absolutely! Freezing the dough is a great way to save time. After shaping the Gipfeli, place them on a baking sheet and freeze until firm. Transfer them to a freezer-safe bag, and when you’re ready to bake, let them thaw and rise slightly before popping them into the oven.
How Long Does It Take to Make Gipfeli?
Making Gipfeli from scratch typically takes 2–3 hours, including preparation, proofing, and baking. Although it’s a time investment, the results are worth the effort. Following a well-structured gipfeli recipe can help streamline the process.
What Are the Most Popular Fillings for Gipfeli?
Traditional fillings include chocolate, apricot jam, and almond paste for sweet versions. For savory options, ham and cheese or spinach and feta are classic choices. Feel free to get creative and try something new!
Conclusion and Final Thoughts
Making Gipfeli at home is a rewarding experience that combines tradition, creativity, and the satisfaction of crafting something from scratch. This gipfeli recipe has walked you through the process step by step, from choosing the right ingredients to mastering the art of shaping and baking.
Whether you prefer them plain, sweet, or savory, Gipfeli offers endless possibilities to suit any taste. Don’t be afraid to experiment with fillings or adapt the recipe to meet dietary needs—this pastry is as versatile as it is delicious.
Finally, take pride in your homemade creations and share them with friends and family. With practice, you’ll soon have a repertoire of professional-quality Gipfeli that rivals those found in Swiss bakeries. So, roll up your sleeves, preheat your oven, and let the baking adventure begin!

